Search This Blog

Saturday, December 8, 2012

December peony buds, and buds for other plants 2012

With November and early December, temperatures will often fall withing the ideal vernalization zone of 40F to 45F which causes many plants to develop their buds in preparation for spring. For my climate, vernalization usually occurs once in the late fall, and then again by early spring as the plants produce the growth hormones needed for flowering, and overall vigor for the following year.

Here are some pictures of the tree & itoh peonies. The buds for the herbaceous peonies still haven't popped out of the soil yet so I didn't take pictures of those. They don't look like much now, but some of these may have enough energy stored from this year to produce flowers next year. They usually start swelling more by the beginning of March when daylight gets noticeably longer and temperatures start to rise.

Here are just a few of my tree/ itoh peony buds. It would be a very long post if I posted pictures of every one of them.


Monday, December 3, 2012

Growing Ensete Ventricosum Maurelii by the window

I decided to get a jump start on my Ensete Maurelii so that I can have bigger plants to bring outside by the spring time. I purchased these guys 3 weeks ago, and they have since put out a couple of leaves. The only thing I hope for is that their pseudo-stems stay healthy and strong, and giving them light from a south facing window will hopefully be enough.

There are 3 plants total.

November 13th 2012: They looked kind of skinny when they came out of the box.

Monday, November 12, 2012

Getting new bamboos on my road trip

last weekend, I happened to be in the area of a fellow bamboo collector so I got a few bamboos from him. I acquired phyllostachys Shanghai III, phyllostachys prominens, phyllostachys huangwenzhu inversa, and another cultivator of phyllostachys parvifolia. It was already getting dark by the time I got there so the pictures may be a bit blurry. Here are the groves.

Phyllostachys Shanghai III: This one behaves and looks just like Dulcis, except it may be a bit more vigorous with straighter culms.

Sunday, November 4, 2012

Pictures of my garlic in the fall of 2012

Garlic tends to grow a little bit in the fall. The foliage is usually hardy enough to make it through our zone 6a winters without much damage, and they come back much stronger by March. I grow around 2000 cloves each year not including the bulbils that take 1.5 years to reach full size.

Here are some of my garlic beds


Friday, November 2, 2012

Overwintering the bananas and other plants for winter of 2012/2013

This year I'm overwintering all the bananas with barrels that have their bottom cut out. The steps are.

1. Cut off all the excess foliage which can't survive the winter anyways
2. Shrink wrap all the trunks
3. Add additional insulation if necessary
4. Stick a cut open plastic barrel over the entire banana stem
5. Fill the barrel with leaves
6. Add additional leaf bags with leaves if the stem is too long
7. Shrink wrap the entire set up to keep it stable

Here's the musa mekong giant which was much easier to over-winter since it is still very small.


Thursday, October 11, 2012

Progress of the musa mekong giant "itinerans"

I tried purchasing musa mekong giant last year however they never made it through the winter when I tried planting them outside. The appeared to still be alive by the spring time however too much moisture in the spring must have killed them out so I ended up ordering a couple more of them from eBay this spring. Here's the links to when I tried them last fall.
http://stevespeonygarden.blogspot.com/2011/10/new-banana-plants-musa-mekong-giant.html

http://stevespeonygarden.blogspot.com/2011/10/fall-update-on-banana-plants-2.html

I bought them as tiny plants in 2 inch pots some time in April of this year to replace the ones I lost last fall.

3 May 2012

Plant 1 on the right, and plant 2 on the left.


Thursday, October 4, 2012

Growth of the Musa basjoo throughout 2012

My musa basjoos were successfully over-wintered to about 2ft last year, and they ended up close to 14ft at the peak, but frost is imminent within the next few weeks so they will be going dormant pretty soon. Here's the documentation of the growth all throughout the year.

21 April 2012: I successfully protected them up to around 2ft, and they are already getting up to 4ft within a week.

Left plant


Blueberry shooting season

Blueberry plants are shrubs which mean they will sprout new shoots from their base. These new shoots can eventually be divided off to become new divisions, or left to grow. This ensures the survival of the plant. Shooting typically starts in the late summer, and continues until it is no longer warm enough to grow.

Here are a few pictures showing how this looks.


Sunday, September 30, 2012

Some of my garlic emerging in the fall

It is around the time to plant garlic so I ended up putting them in rows, about 10 inches apart, while their individual distance is usually about 6 inches just to ensure they get nice and big. I tilled up the soil, and made separate beds so the cloves can dig their roots into the ground further which will result in larger bulbs next summer since they can take in more nutrients.

Here's one of my beds for soft neck garlic with last year's bulbils, and new cloves that haven't emerged yet.


Sunday, September 23, 2012

Growing angled luffa (loofah) gourds from seed

By around late May of this spring, I planted a few luffa (chinese okra) seeds in the ground, and eventually only 2 of them survived until maturity, but here's a complete picture documentation of the 4 months of progress since they were planted. I may have been able to get harvests faster if I started them indoors under a strong metal halide, but that's OK because I'm still able to get over 100 fruits per plant. The key to getting heavy yields is tons of water, lots of space for crawling, and good fertilizer. I fertilizer with manure, compost, and azomite. These plants produce lots of vines and take up a lot of space.

9 June 2012: Just barely coming out

Setting up the Solar greenhouse

One of the fall projects I have worked on is creating a completely solar greenhouse. I built this right over my moso bicolor so I can protect it as well as speed up its growth. I'm also using it to place some of my bamboos so they can grow a bit more through the winter. My objective is to insulate it well enough so that additional heating will not be necessary here in zone 6a. At this time of the year, the greenhouse typically raised the greenhouse about 5-20F, but those numbers typically increase in the middle of the winter.

Here's the outside of it.


Sunday, September 9, 2012

Peonies going dormant for the winter 2012

By late summer or fall, most of the peonies have already stored as much energy as they can for the year and go dormant. This means that their leaves will change colors, fall off, and the tuberous roots will likely shed their feeder roots as they go to sleep. Another way to tell is when the buds for next year really start swelling up in preparation to sprout by next spring. Tree and itoh peonies should have completely woody stems by this point.

Here are some of the seedlings


Most of them will produce more than 1 bud as a 1st year seedling, even if they are weaker ones which only have 1 leaf.


Wednesday, August 29, 2012

Mid summer flowers for 2012

One of the things I try to keep going in my gardens is flowering plants all year long, except for winter. I have crocuses which bloom as early as late February to a perennial sunflower which doesn't bloom until November, and there are plenty of flowers blooming in between.

My second favorite flower would have to the dahlia. Here are a few of them. These guys grow from tubers which can over-winter in zone 6 as long as they are well protected, and I use leaf filled bag to protect mine instead of digging them up and bringing them indoors which is too much work.

Here are the results.


Tuesday, July 31, 2012

Solification of tree/ itoh peony stems

Towards the end of July, tree peonies usually start to develop brown stems as they start becoming woody and showing their true nature. Here are a few closeups just to show how it looks.  Once tree peonies darken up, they are usually set to survive as long as they are planted deeply enough to develop their own roots.

This one appears to be solid already. Like trees, their stems and branches tend to harden off completely before they ever expand in diameter.

Thursday, July 5, 2012

Moso Bicolor growth diary starting from 18 March 2011

This is one of my favorite bamboos, not because of its rarity in the US, but it produces the most beautiful looking culms which are usually yellow with alternating green stripes, as well as some random green striping. It is still very expensive as nurseries are generally very stingy about making it available, but that should change over the next few years as I prefer to share.

18 March 2011; Here's how it looked with 2 tiny, but bushy culms when I got it, and planted it into a 15 gallon container.

How to get rid of flies around the house

I know that most of my posts are on plants, but one thing I found that was very useful in nearly eliminating the flies that got into the house were reusable fly traps. I bought them off eBay. They come with their own fly attractant, but there are many home-made recipes that should be able to work just as well. So far I am experimenting with pieces of meat, sugar, and vinegar to try and get the best mix.If you ever plan on buying these, it is important to get the reusable ones because the disposable one that I tried at the beginning filled up to maximum capacity of perhaps over 1000 flies within 3 days.

As the flies go into these traps, they don't seem to be smart enough to find their way out so they are bound to drown in the water below. Near the end of this 48 second video, a total of 2 flies enter this trap.


Tuesday, July 3, 2012

Rise and fall of the yucca plant time lapse

This is the first time one of my yucca plants has ever flowered and here's a 40 day time lapse of the flower stalk from May 21st until June 30th. I hope the main plant survives the flowering to keep growing, but I'm not too worried since there are 2 little offsets coming off on either side.

21 May


Monday, July 2, 2012

Can tree peony seedlings grow more leaves in the summer?

One thing I have always wondered is if tree peony seedlings could gather up enough energy to produce even more leaves, or if what appears in the spring is everything that will appear for the year. Now that it has been nearly 4 months after the tree peony seedlings started to come up, some of them have started to grow more leaves. I think it depends on how good the soil is, the species, and perhaps if there is enough moisture.

Here are some of the ones putting on more leaves. The new summer leaves appear to be slightly larger than the ones appearing in the spring which means the plants have  already gathered some energy.

Monday, June 25, 2012

Adding 10 cubic yards of mulch, top soil, and compost to the gardens

Last week I ordered 10 cubic yards of mulch, top soil, and compost with an even amount of each material to my gardens. It took me about 30 hours total to use it up, and my main project was a flower bed full of mostly tree & itoh peonies, 2 musa basjoo banana trees, and 3 Asian pear trees.

Here's about half the pile as I've already used up the other half to improve the soil in my new flower bed.

Saturday, June 23, 2012

Progress on the pachira aquatica money tree cuttings

Back on May 5th, I divided up my money trees because they were getting too large. Here's the old blog. http://stevespeonygarden.blogspot.com/2012/05/dividing-pachira-aquatica-money-tree.html

As expected some of them either made sprouts which means they are also rooting, and some of them rotted. It seems like the general trend is that older sections of wood are better at rooting than the new green sections.

Here is the progress as of June 12th.

Original trunks.

Bamboos leafing out 2012

With the earlier spring and warm weather this year, bamboos are leafing out much sooner than they usually do, and they are starting to look impressive. The biggest ones are going onto their 4th season and some of them have culms exceeding 1 inch, reaching heights of up to 15ft.

Phyllostachys parvifolia: This one is putting out a lot of 1 inchers this year with the tallest ones getting up to 14ft while the average diameter of the entire grove is an amazing 7ft even though over 100 divisions have been taken from it.

Sunday, June 10, 2012

1 year old tree peonies have arrived

2 1/2 weeks ago on May 24th, I have received my order of 42 (1 year old) grafted Japanese tree peonies. I decided to start them all in 2-5 gallon pots depending on their size so I can get them well established on their own root systems before getting them in the ground.

Here's the 1st out of 2 boxes that came on May 24th.

Saturday, June 9, 2012

Update on the sempervivums

Sempervivums usually reach their full size by around July, and start flowering over the summer if they are mature enough. So far, most of them have produced many offsets. Here's the latest blog from 5 weeks ago. http://stevespeonygarden.blogspot.com/2012/05/sempervivums-hens-and-chicks-waking-up.html#more

One way I have figured out how to prevent people from stepping on them or deer from eating them is to place rocks around these plants.

This is a very unusual one as it split itself into 9 large offsets instead of simply producing them.

Thursday, June 7, 2012

My experience with growing blueberry plants after 3 years

I started growing blueberry plants back in 2009, and they finally started producing last year, and I'm finally starting out to figure out how to get good production on these plants. Here's the old blog on them. http://stevespeonygarden.blogspot.com/2011/04/over-view-of-blueberries.html

Here's a view from the distance on how all the plants are doing. I mixed in a lot of peat moss & pine mulch into the bed to acidify the soil so the roots can reach into the soil.

Saturday, June 2, 2012

Thornless raspberry growth progression

2 months ago, I purchased 5 bare root thornless raspberry plants, and they have really taken off over a 2 month span. Since they are starting to fill out their pots, I have had to start planting them in the ground. This blog shows their growth progression over about 2 months. The sprouts that emerge this year should bear fruit the following year so I need to get them in the ground to make sure they have plenty of room to spread and make new shoots.

10 April

Update on the itoh peonies

It has been 2 weeks since I received my 5 large itoh peony tubers which can be found on this link. http://stevespeonygarden.blogspot.com/2012/05/unpacking-new-itoh-peonies.html#more

After dividing all of these guys into several pieces, they have since started to sprout leaves. It's not shown in these pictures, but after inspecting one of these pieces, they definitely have root growth starting as I've been watering them with clonex, willow tea, and really pampering them. They should start producing their own tuberous roots once the leaves are done growing.

One thing that I've noticed is that the larger pieces tend to be producing larger shoots which means that the size of the tuber matters a lot. They all still have plenty of growth left in them. These plants were recently watered with worm tea so the residue is still left on them.

Scarlet Heaven

Sunday, May 27, 2012

Bamboo shoots update 2012

All bamboos have started shooting by now, some of them just starting out, and some of them are almost finished. Shooting season usually starts around mid April and lasts through June around here. All these photos were taken over the past 3 days so there may be pictures of the same shoots just a bit taller.

Phyllostachys Dulcis: This one has a 1.25 inch shoot which is the biggest so far out of any of my bamboos this year. This one went from around 3ft two days ago to over 6ft tall today.

Saturday, May 26, 2012

Unpacking the new Itoh peonies

Last week, I received a box of 5 dormant itoh peony tubers. It was a pretty heavy box so I was definitely excited to see what was inside. I ordered Scarlet Heaven, Lemon Dream, Canary Brilliance, Cora Louise, and Old rose.

Here's the box it came in.

Tuesday, May 22, 2012

Update on the actinada arguta issai kiwi plants

Back in spring of last year, I purchased 3 tiny kiwi plants from eBay. The species was actinada arguta issai which is known to be a self pollinating species. I've also found that this type propagates very easily from cuttings.

They came in tiny 2 inch pots, and were approximately 5 inches tall. Here's how they looked when I purchased them.

Friday, May 18, 2012

Peony blooms

 I don't have that many of them at blooming size yet, but generally tree peonies have the largest blooms, and herbaceous types have the smallest blooms. Itoh or intersectional peonies should be somewhere in between.

Kinshi Tree peony

Thursday, May 17, 2012

Update on all the peonies, itoh, tree and herbaceous species


One of the things I learned this year about peonies is that there is an intersectional peony which is a cross between a tree peony and a herbaceous peony which grows more vigorous that both. I find that these guys have woody stems, but also produce new eyes as prolifically as herbaceous peonies.

ITOH Peony

Here's my newest acquisition, a Julia Rose itoh peony which didn't have much root mass, but as long as it gets established in its pot, it should grow well. I planted it as deep as I could to encourage more eyes to form.

Sedum succulent garden hardy succulents update with many new species

Here's the link to my sedum blog from 1 year ago. http://stevespeonygarden.blogspot.com/2011/05/sedum-succulent-garden-hardy-succulents.html

This year I have manually started to start spreading my sedums out, and actually cutting back on the original one since it keeps expanding. They are very hardy so zone 6a winters are usually never a problem especially since they grow so low to the ground and get covered by the snow. All of them made it through the winter except the Angelina, but I have re-acquired that species so it's OK.

Here's the original sedum that I started out with.
Sedum Sarmentosum
 

Tuesday, May 15, 2012

Air layering running bamboo shoots for small divisions

Last year, I did an experiment where I took a phyllostachys dulcis shoot that hasn't formed its anchor roots yet, and forced it through the drainage hole of a nursery pot, filling it up with soil. As expected, it turned out to be a viable division as 4 rhizomes grew out of the based of that shoot after it was severed from the mother plant.

The biggest problem was that the shoot that emerged was too big, and had too many anchor roots that dried up it's little 2 gallon put very quickly. Last year I grew a rhizome close to the surface on purpose in order to promote the formation of smaller shoots which are easier to work with, and I can get plenty of which will be less of a burden for the mother plant since they are so small. As expected, the mini-shoots formed. This propagation method can be used for running bamboos that have a hard time running, or juvenile bamboos where you want to turn small shoots into divisions without draining the energy of the mother plant too much. These are clearly true shoots because you don't always have whip shoots available in the spring.

I'll guess I can name this shoot bud activation, air layering propagation.

Here's the shoots that were downsized while the shoots on both ends of the same rhizome are full size.

Monday, May 14, 2012

Bamboo shooting season 2012

It is the middle if May (mothers day), and my bamboos are finally starting to get going. Most of them have started shooting, but the best is always going to be last. At least most of my bamboos are putting on an upsize of some sort

Phyllostachys parvifolia: There are many shoots that are just barely out so I still can't determine their diameter yet since they can still gain a lot of diameter when they are just barely out of the ground. This one looks like it should get over 1 inch.

Monday, May 7, 2012

Update on the Garlic, Soft neck and hardneck

There are two primary types of garlic. Hard neck, and soft neck. The hard neck types usually have larger cloves, but fewer cloves in each bulb with a stronger flavor. The soft neck types can have a huge cluster of smaller cloves depending on the species, and it is the type they usually sell at stores since they store longer than hardnecks, but they generally have less spice than the hardnecks. I either buy them from bulbils which are kind of like seeds which take another year to reach full size, or I buy the cloves which cost more, but produce full sized bulbs when they are planted in the fall. The thing I love about garlic is that they really take no effort to grow as all I need to do is drop the cloves in the ground during the fall, and harvest them the following summer.

I grow both kinds and many species of them.

Starting with the hardnecks, here's Selvitta sunset started from bulbils

Saturday, May 5, 2012

Dividing pachira aquatica money tree from cuttings

Last year, I succeeded in dividing one of my money trees into a few large 1ft long sections. All the divisions seemed to thrive and rooted out with ease. This was done in partial shade, but I'm trying them in full sun this time around since it might get them more growth this year.

I had two 5 gallon sized trees which I took outside by the beginning of March. I've found that they can handle a few degrees below freezing without leaf burn, but took them back indoors every time it got below 30F. The goal was to get them accustomed to outdoor conditions so they are ready to propagate. Here's how one of them looked.

Bamboo removal made easy

Since bamboos are one of the plants I collect, I did have collected many types and I have also gotten rid of many types of bamboo as well. There are basically 2 ways to get rid of bamboo. 1)Cut all the culms down to the ground with a lopper or chainsaw and keep repeating until the grove runs out of energy or shoot buds. 2) Dig it all out, and check for missed pieces.

The reason why I am writing this blog is because sometimes people have problems with certain types of bamboos. Some species of bamboo can become invasive if they are grown in the right climate/ conditions or if the owner of the property doesn't understand or care about it. A lot of people don't know how to properly control, or get rid of bamboo which can cause problems for neighbors. If you have an understanding of how bamboos grow, it can actually be very easy to get rid of.

Method 1:
This method only requires a lopper and maybe a lawnmower if feasible. Most loppers cut up to 2 inches in diameter, but if the culms are bigger, an electric chainsaw will be sufficient. This method is preferable if the bamboo you want to remove covers a lot of ground ie several acres. 

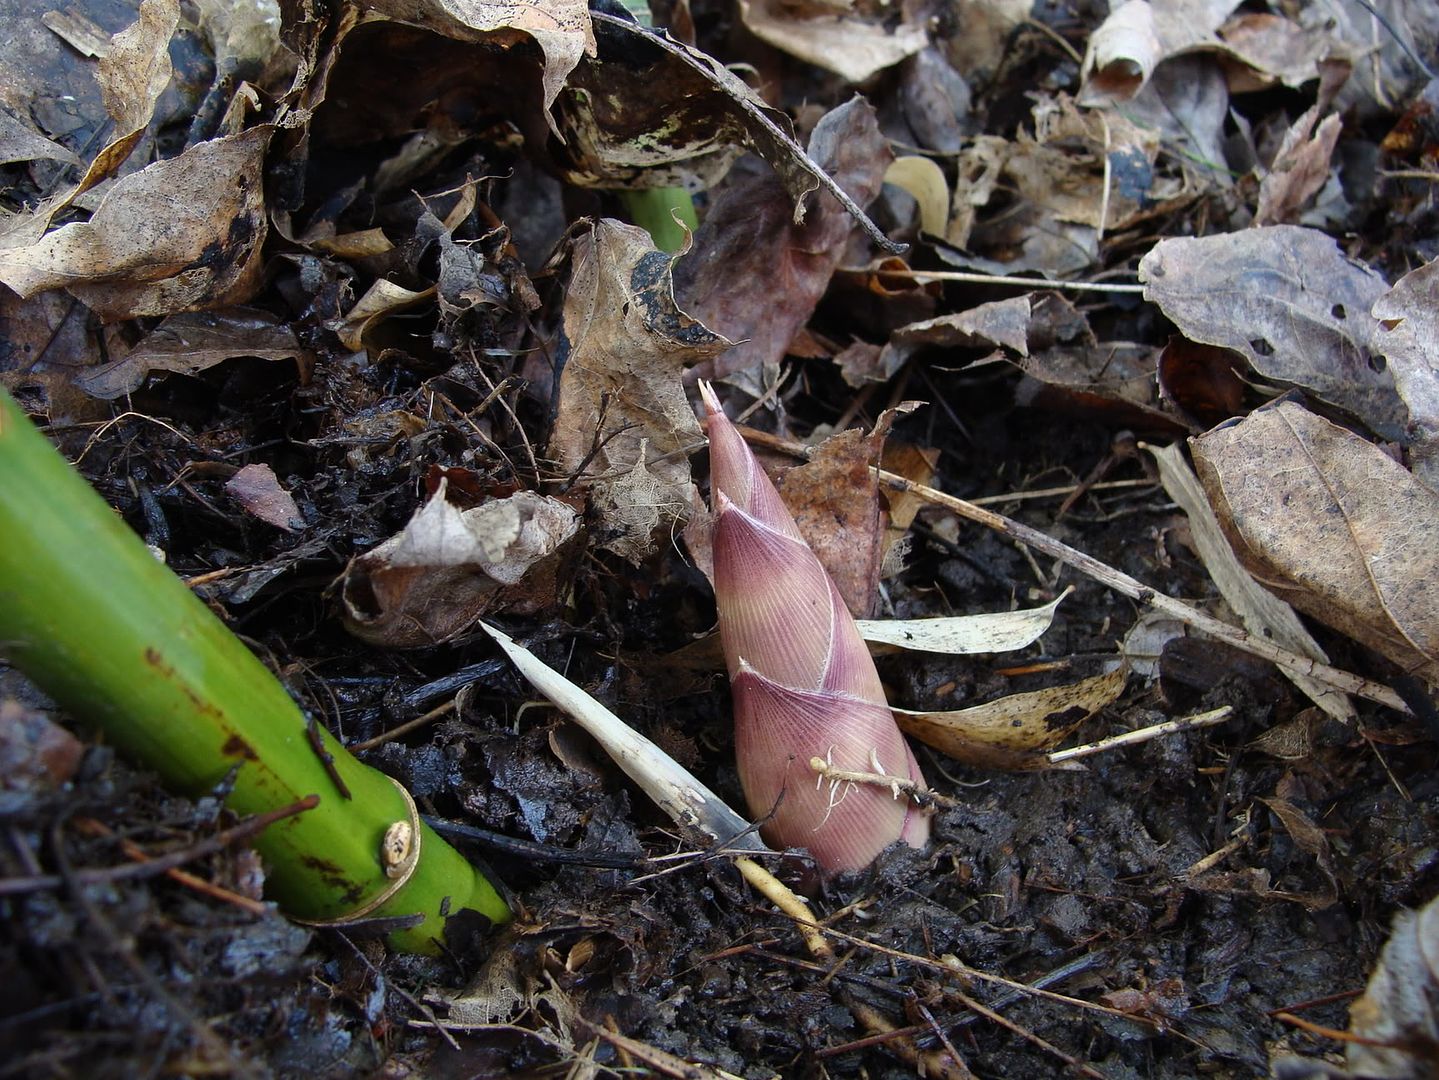
1. First It is best to wait until spring when new shoots start rising and get to 2-6 feet tall. This means that many buds have activated, and the bamboo is expending its energy. 

2. When the new shoots are several feet tall, it is now time to cut down all over the existing culms to soil level in order to remove all of the plant's source of photosynthesis, but the new shoots should be left alone to continue draining the energy from the grove. 

3. Once the new shoots reach their full height and they are branched out, but before they start leafing out, it is time to cut all these new shoots down to soil level when the energy of the grove is almost completely depleted. 

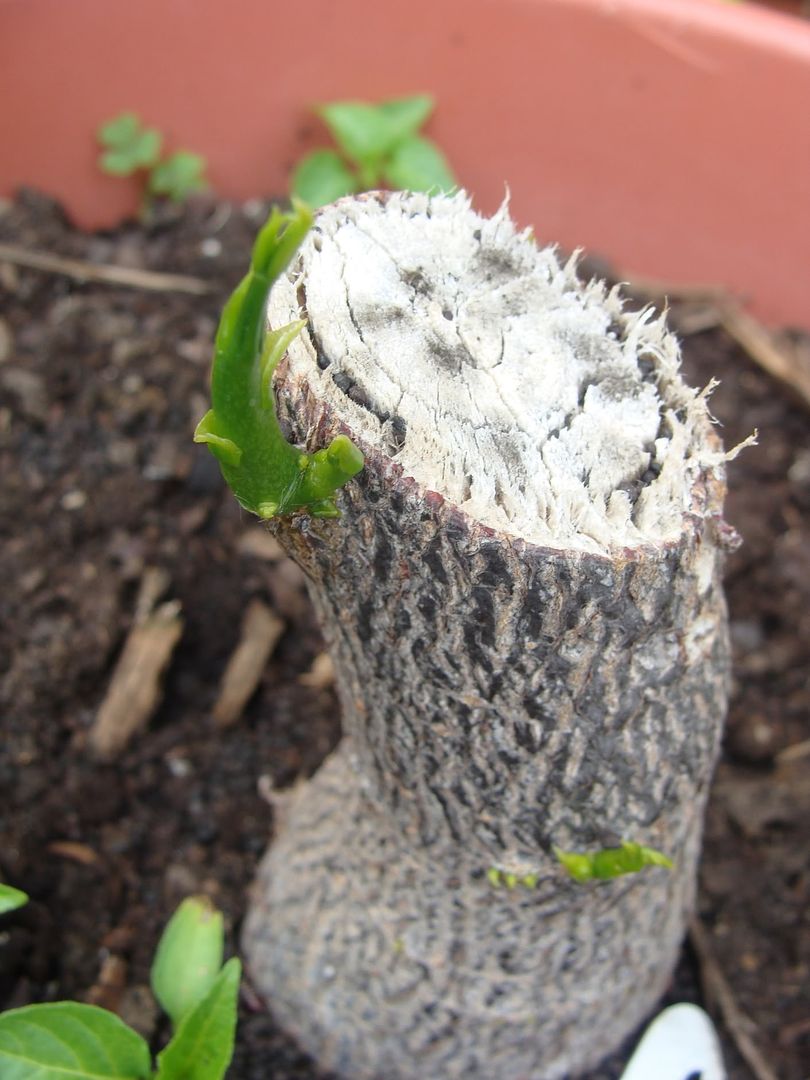
4. With the remaining energy left in the grove, the bamboo may still have the ability to generate very small survival culms. The best thing is to wait for them to finish their growth and repeat the process over by cutting them to soil level right before leaves are about to form. Regrowth can happen 3-4 times, but the size and number of them should decrease each time as the number of viable shoot buds are reduced, and the energy dwindles. If it is an open area, planting grass seeds, and keeping the area mowed will be sufficient.

 The idea is to starve the bamboo of all its starches stored in the rhizome system and herbicides are generally ineffective.There is no need to remove the rhizomes as they will die and rot away without a source of energy for several months, and there is no need to pay thousands of dollars to remove bamboo with heavy machinery when you can do it by yourself with simple tools such as loppers and chainsaws.


Method 2:
This method is only feasible when there's is not that much bamboo, and it can all be dug up in a few hours, and the benefit is that the bamboo can be removed all on the same day as long as every rhizome is taken out.

1. The first step is to wait until after a nice rain when the soil is easy to dig through.

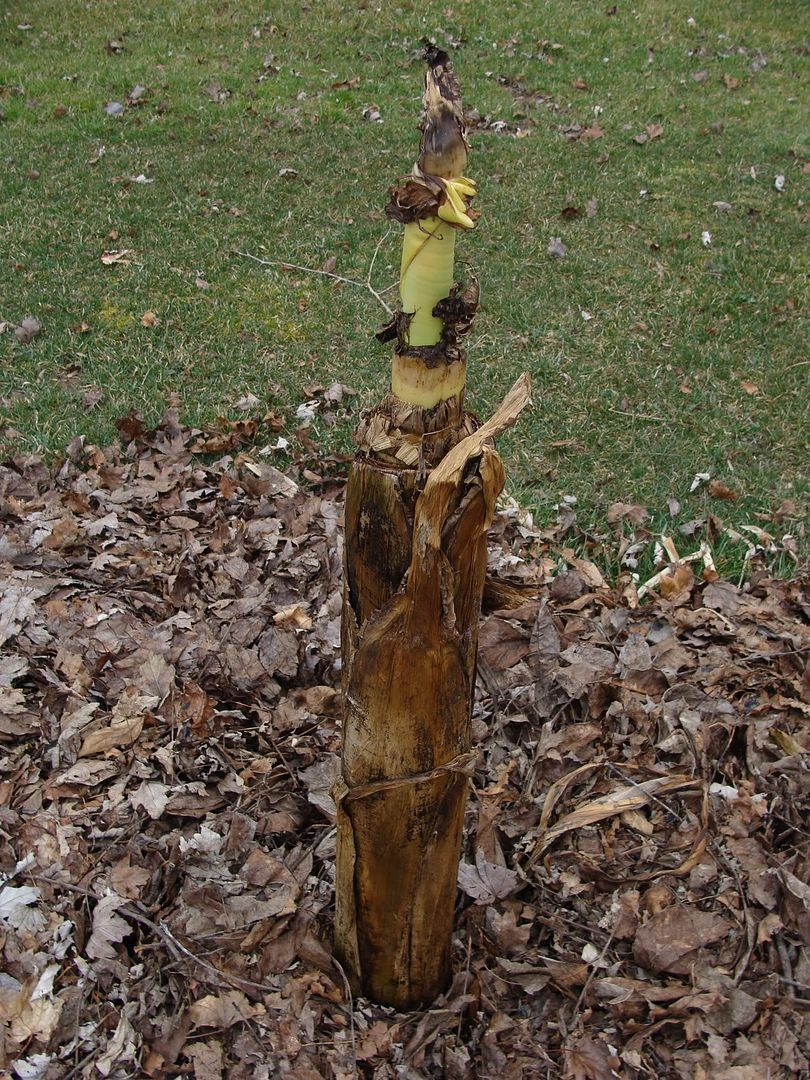
2. Cut all the culms down to soil level so they are out of the way.

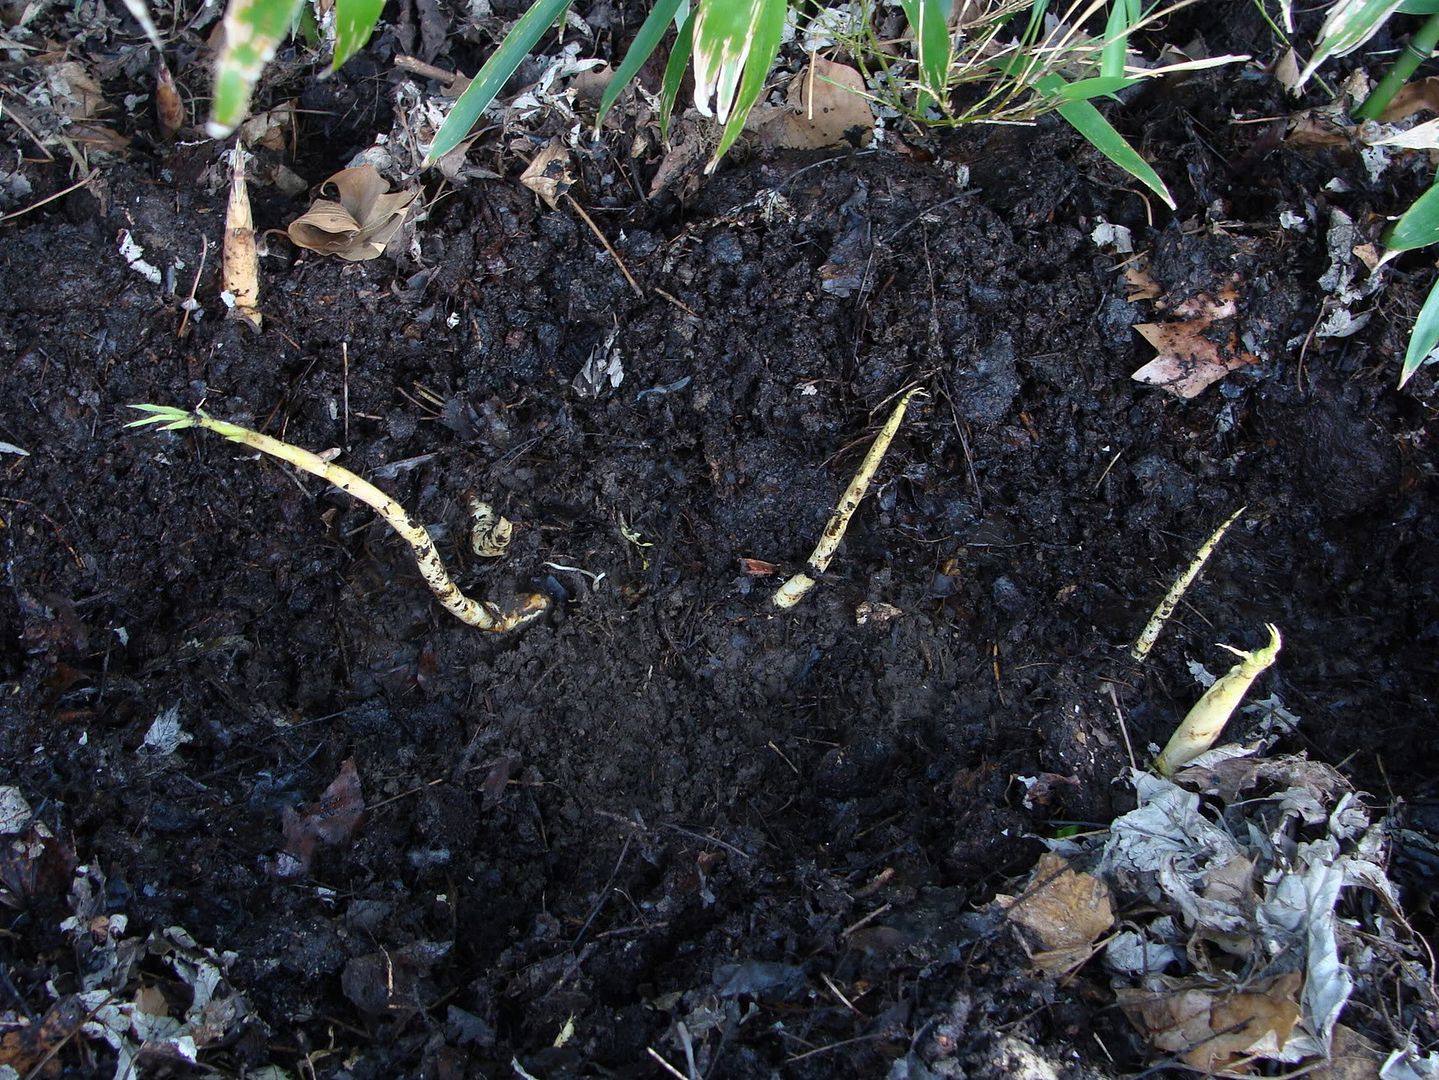
3. Dig out every piece of rhizome starting from the perimeter inwards. Most bamboos only grow near the top of the soil. This can be done with a sharp shovel, a pick and loppers. The inside of the grove is harder to dig out as some species can form a solid root mass if culms were growing very closely.

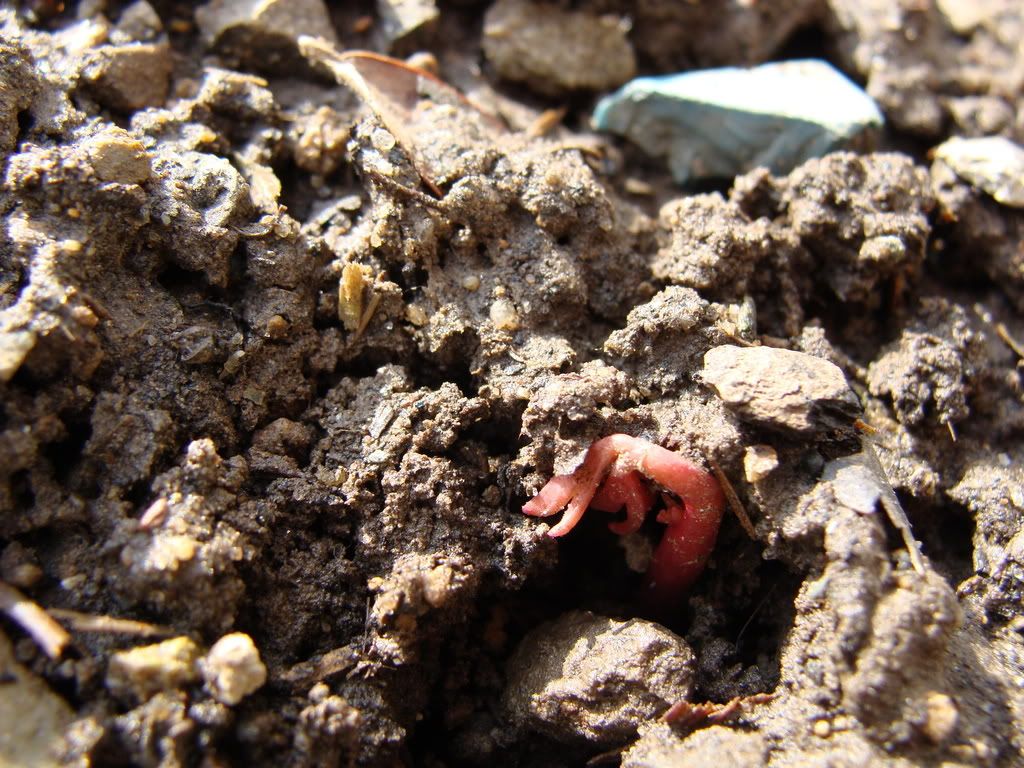
4. Wait about a month and check to see if there are any sprouts. It's very possible to miss a few pieces which can easily be detected when they start shooting.

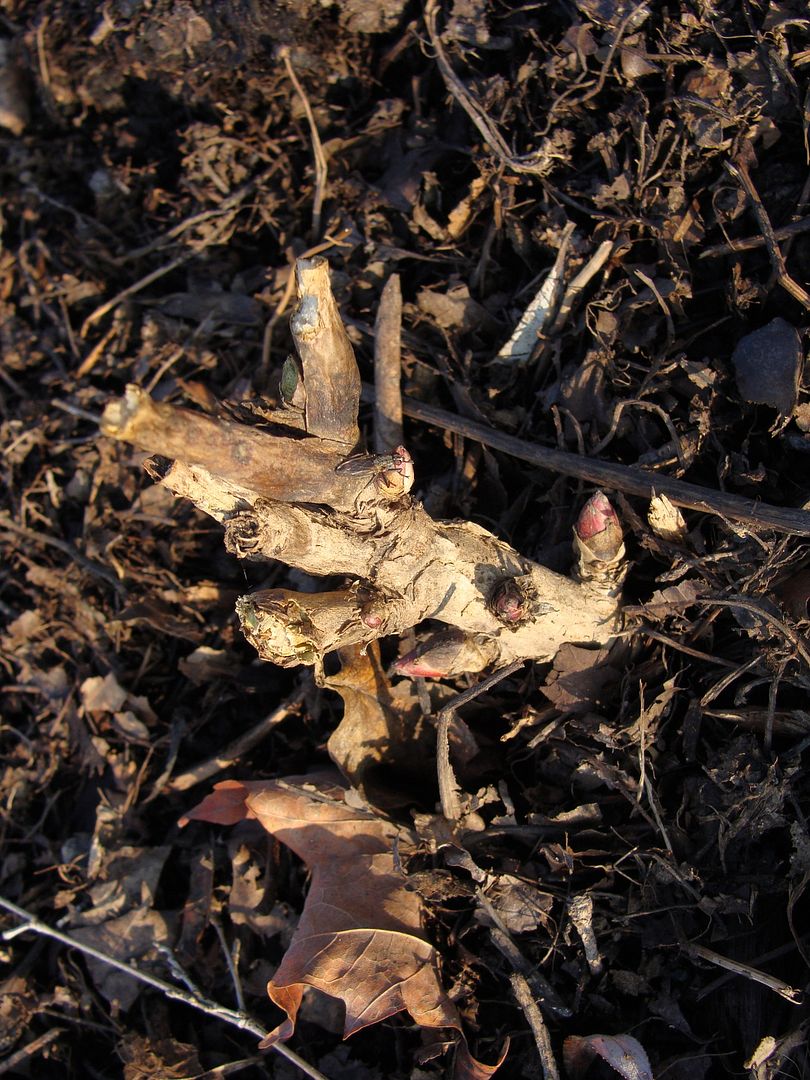
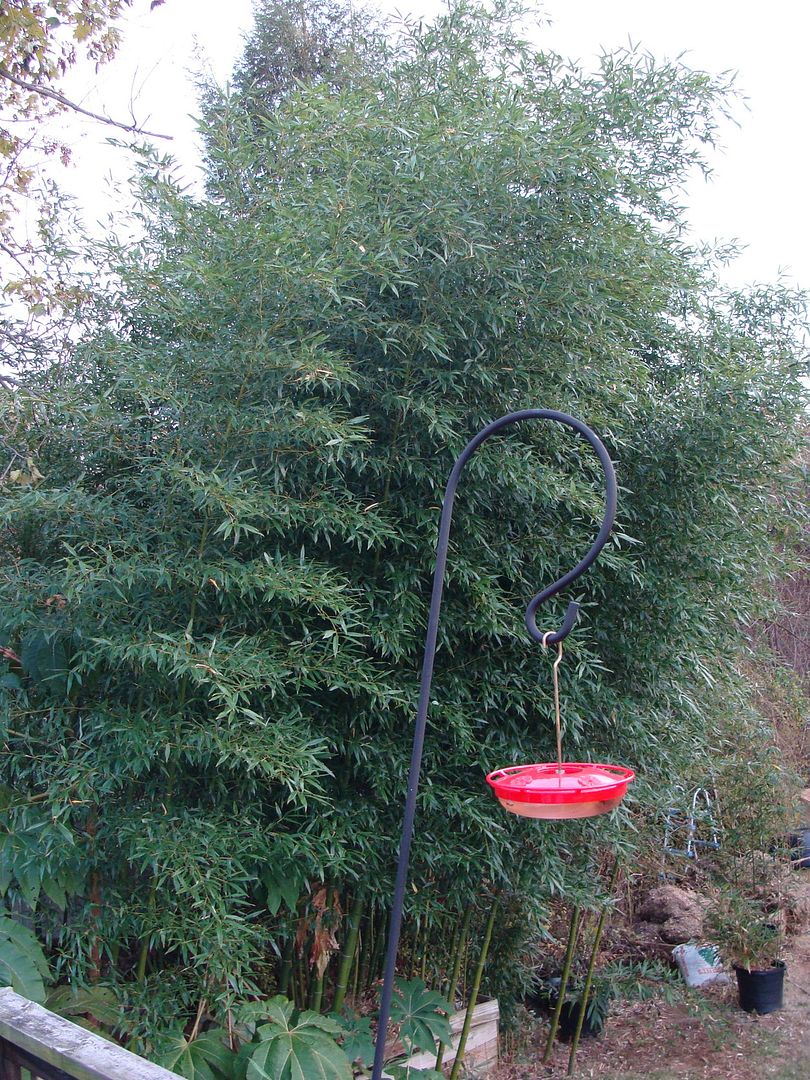
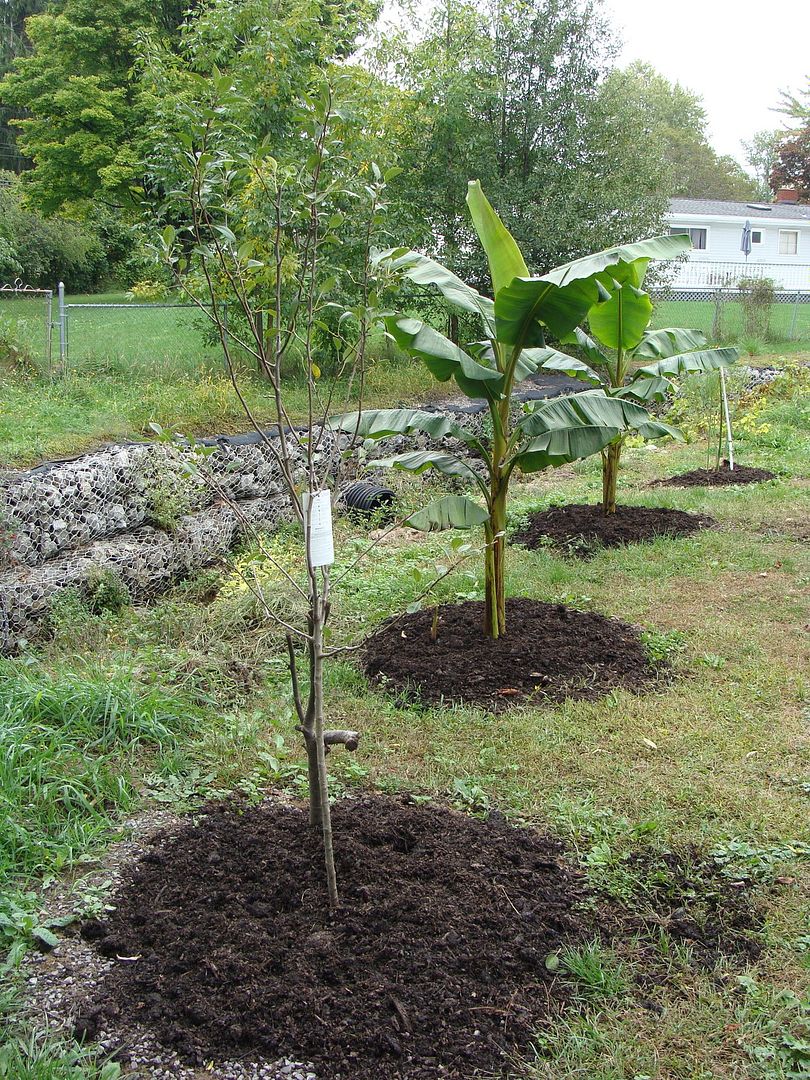
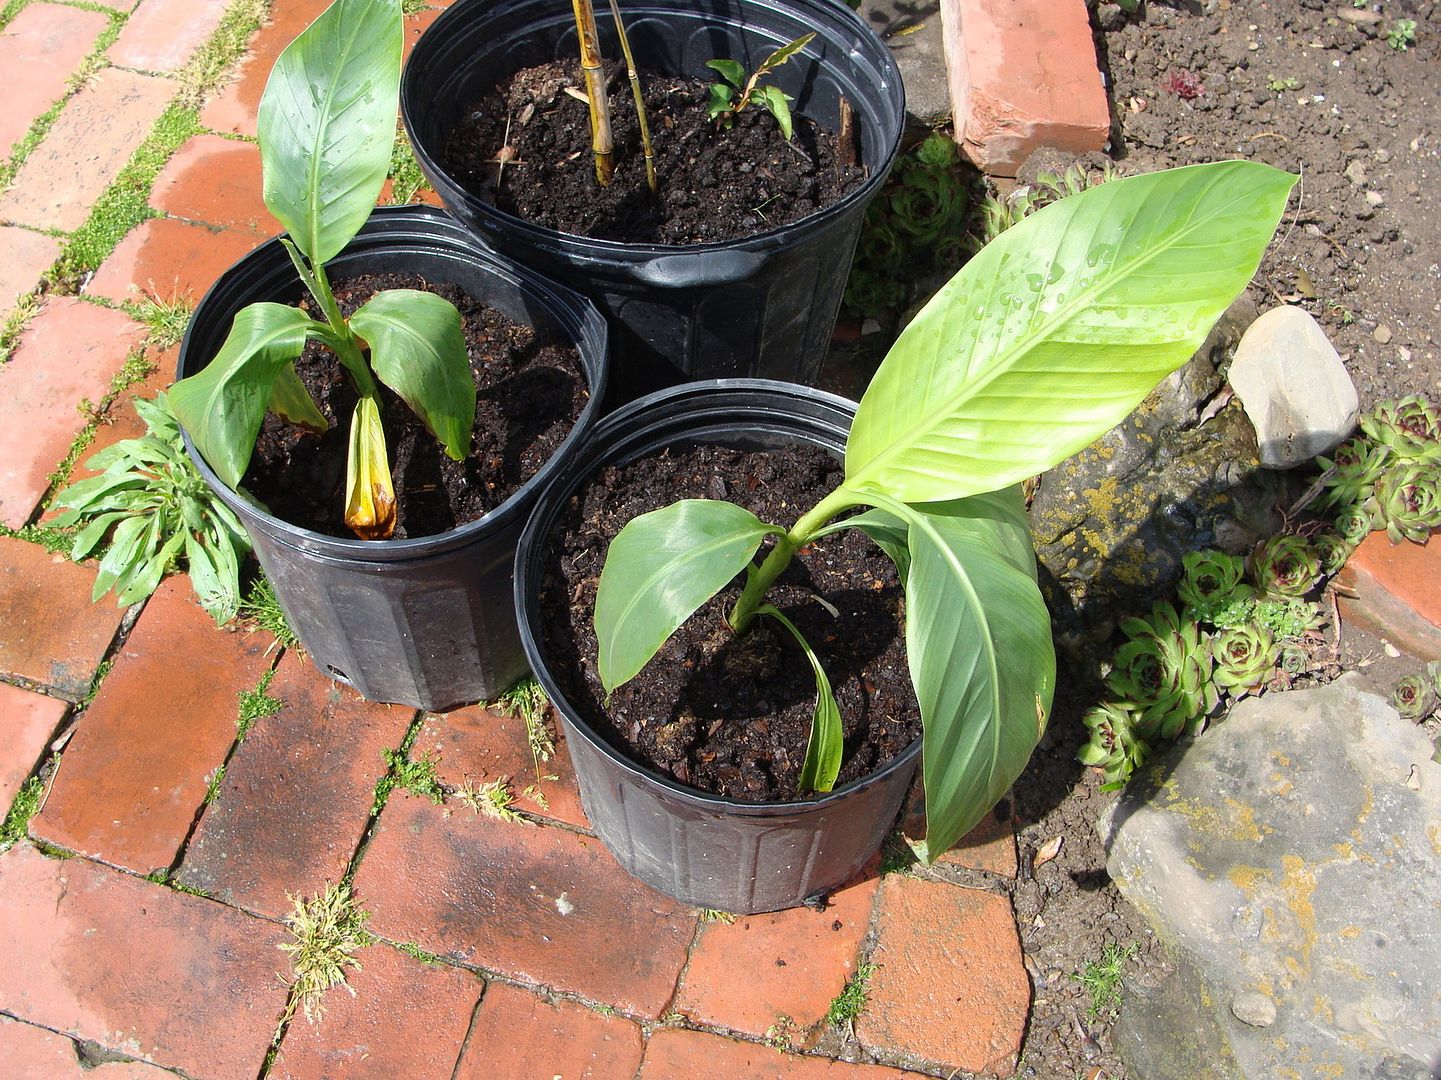
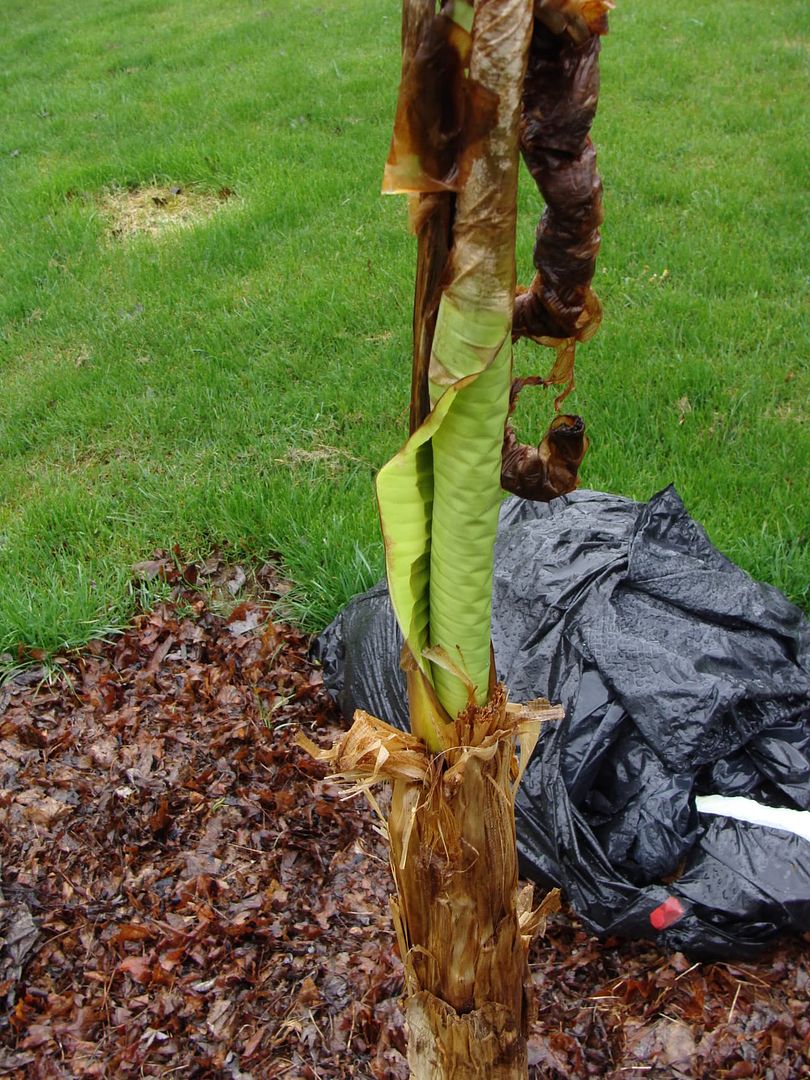
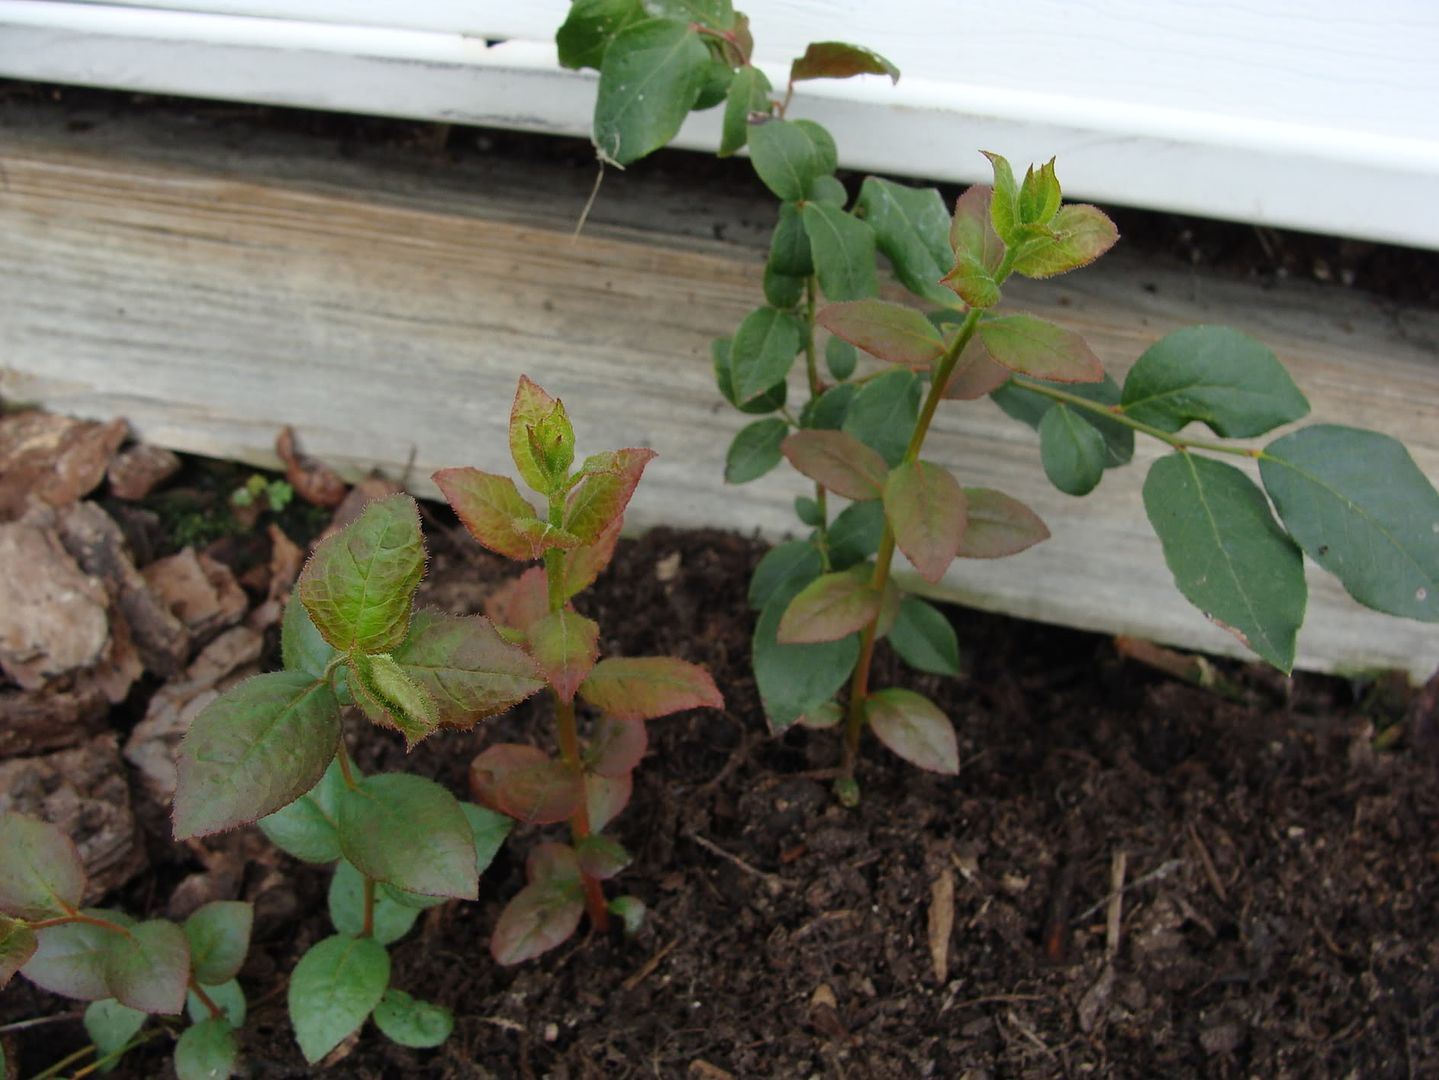
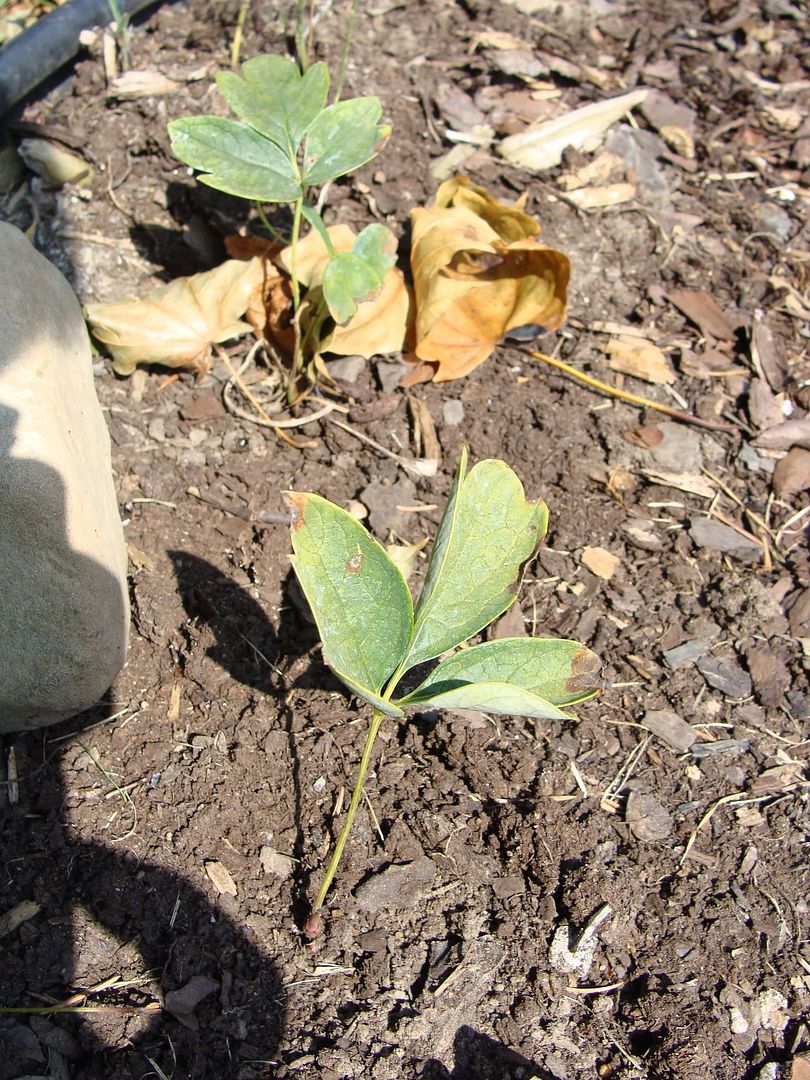
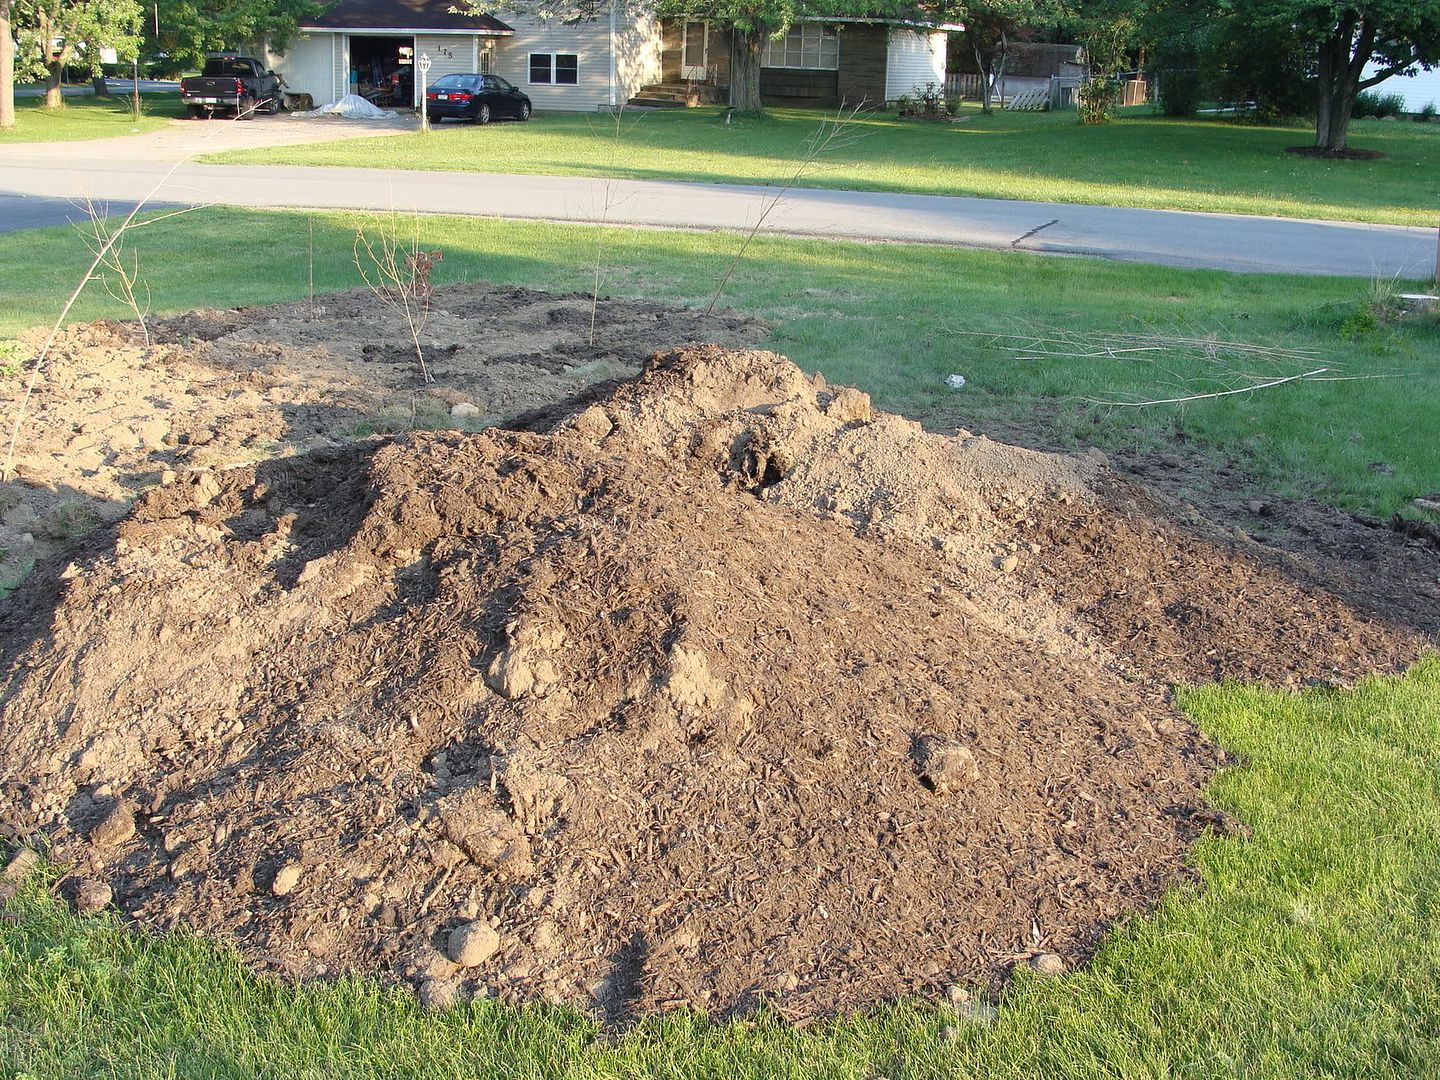
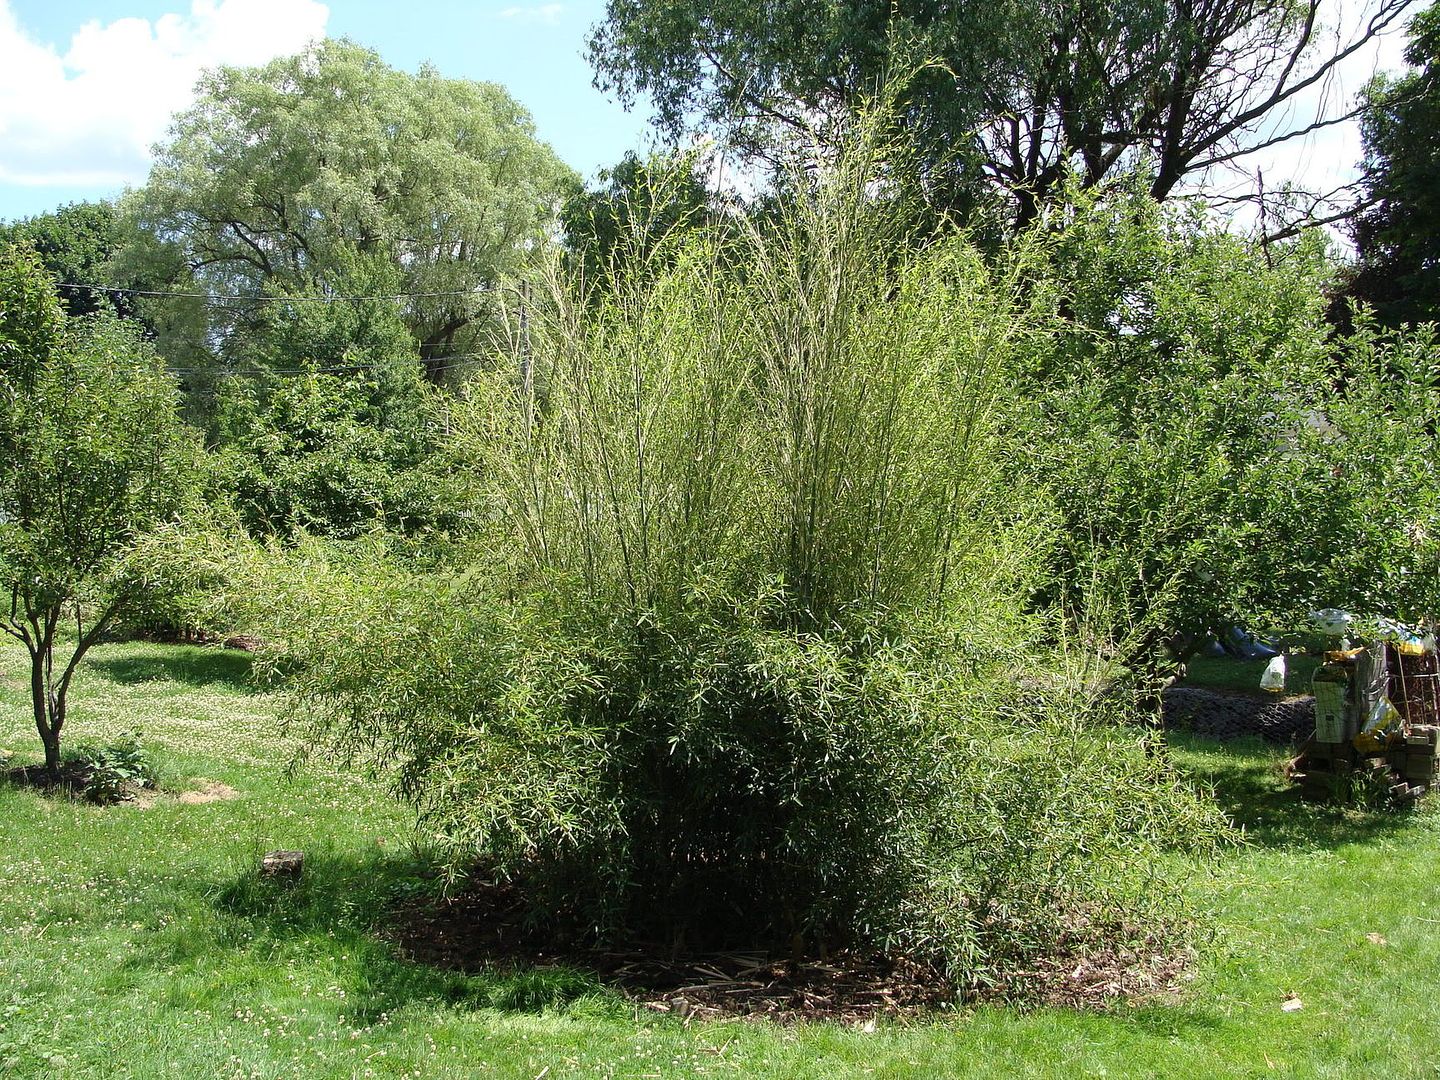
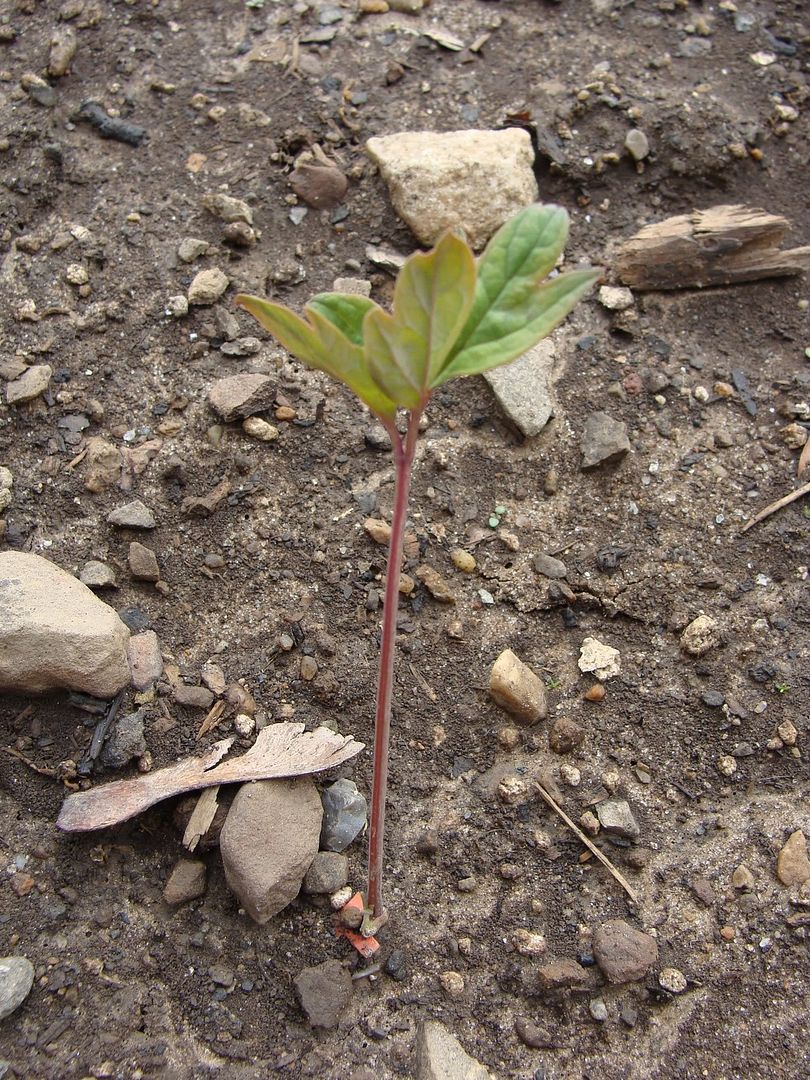
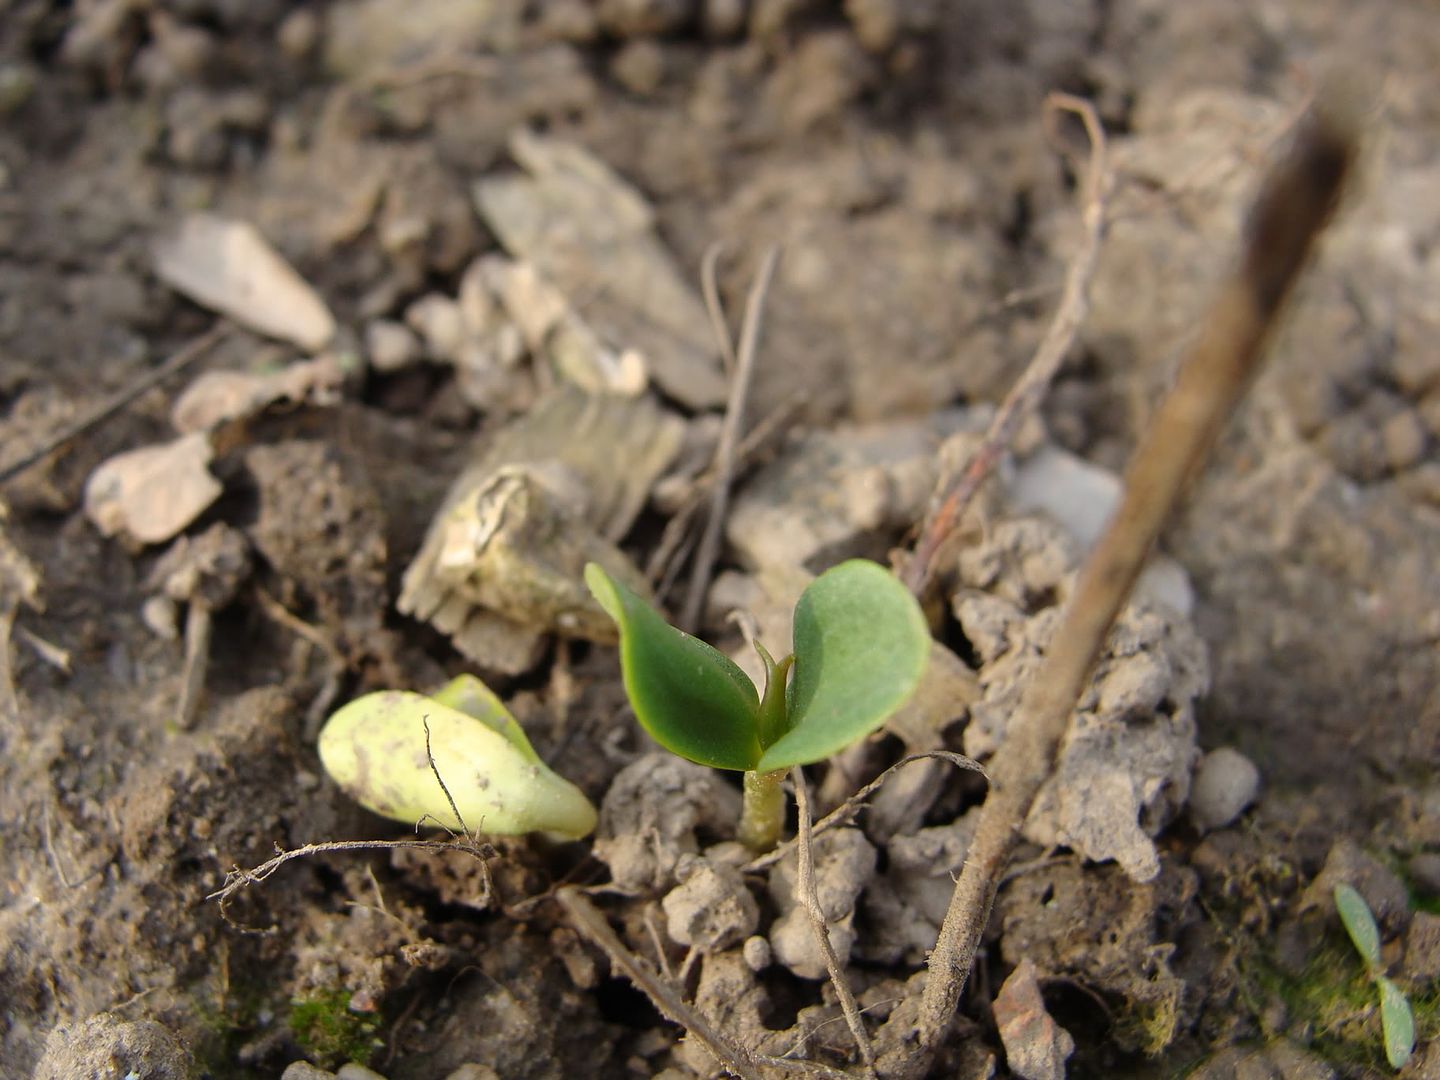
Here are a few pictures to show some results on some of the bamboos that I have removed.
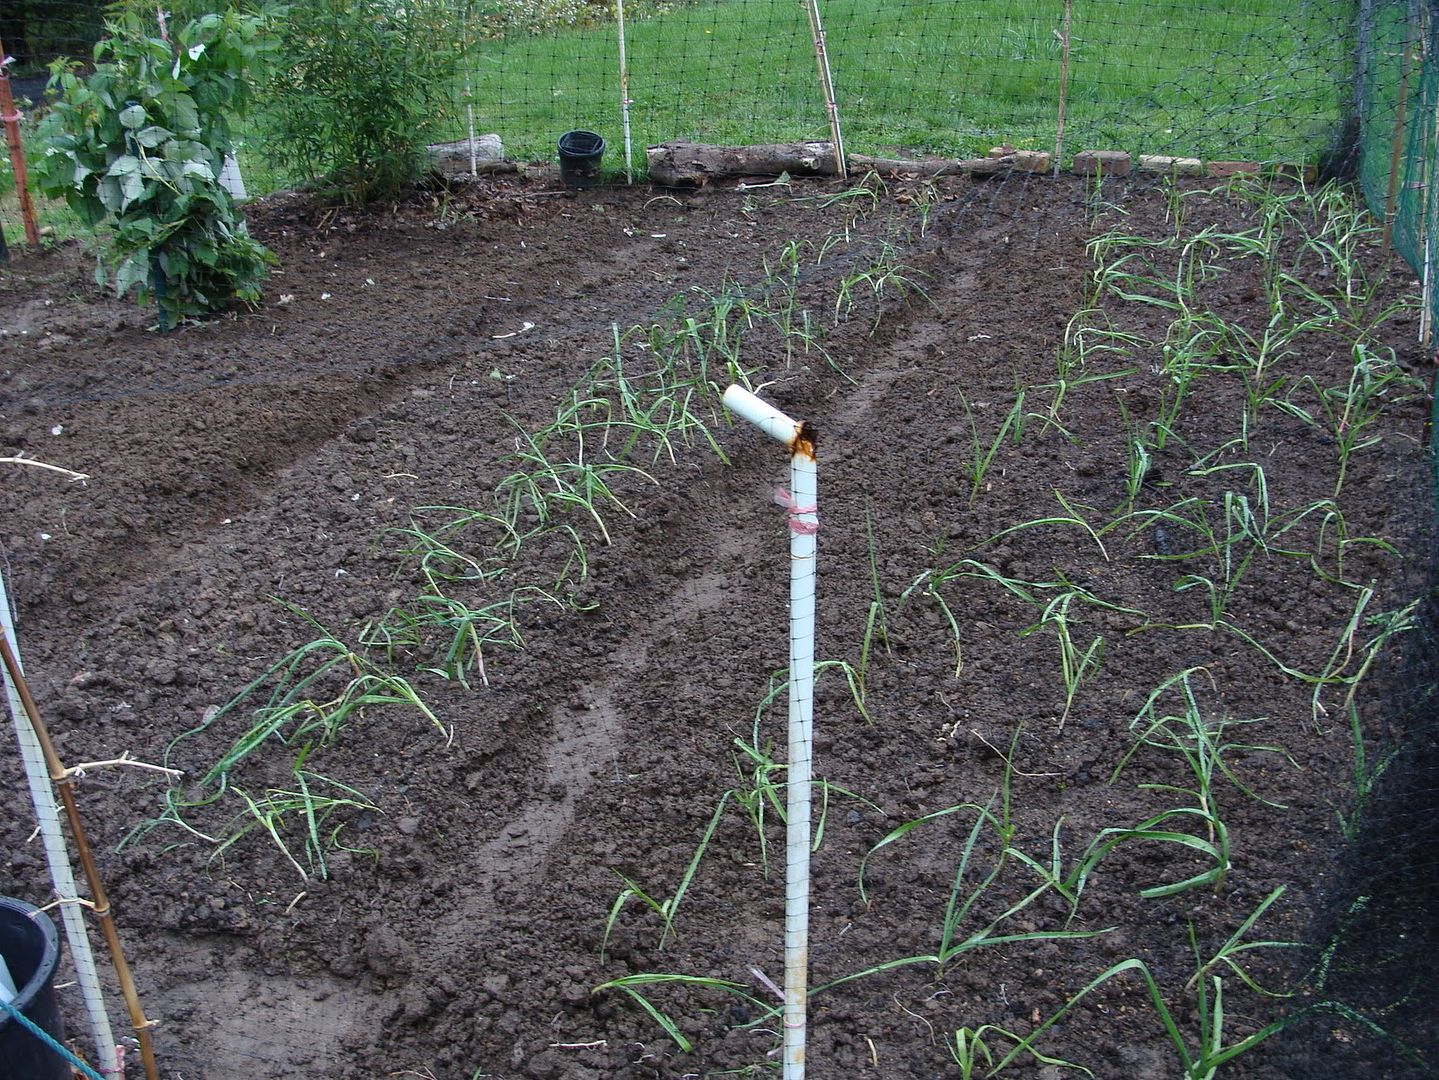
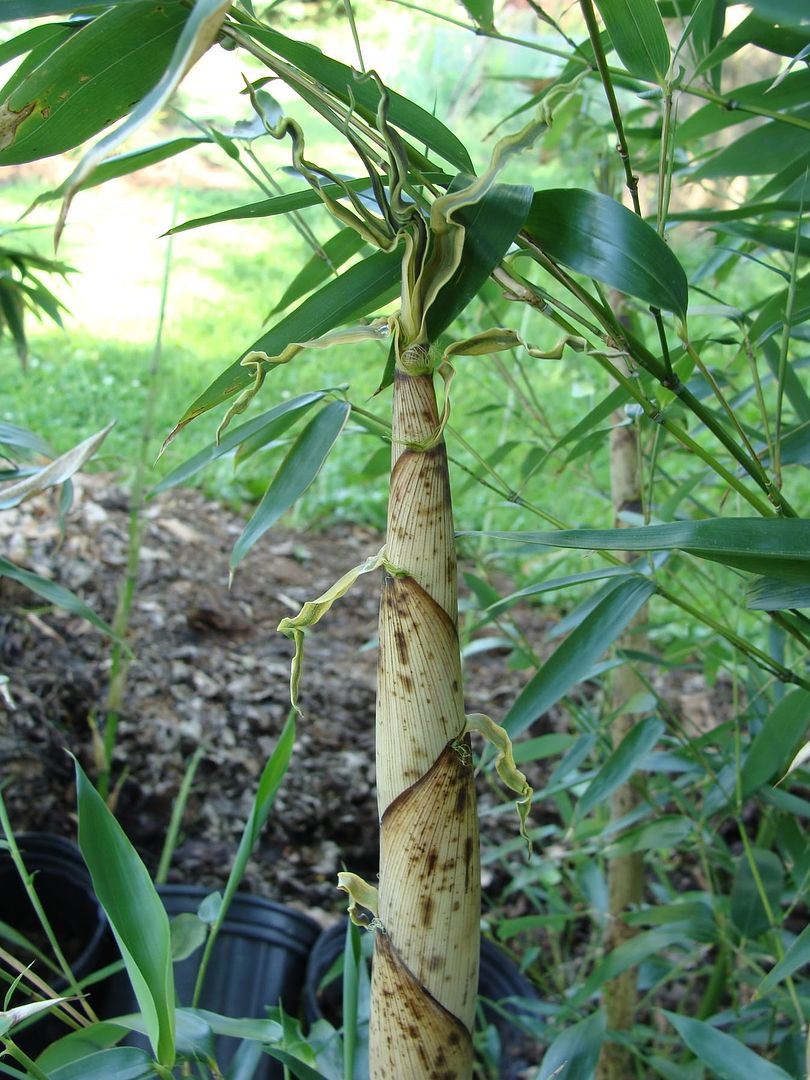
Phyllostachys Aureosulcata (yellow groove)

Before:

Friday, May 4, 2012

Sempervivums hens and chicks waking up

Last spring, I added many sempervivum cuttings to my collection. Only a few of them produced their own offsets, but this year, it looks like every species may start producing them. They usually start growing by around April, and now they are almost full size. This year, the new ones are about twice the size they were last year so there's a good chance that some of flowering.

Here's the original giant sempervivum that can get 9 inches in diameter when there is enough growing room, and partial shade.

Monday, April 30, 2012

Adding Water absorption crystals to the soil in potted plants and areas that dry out

Last summer, I ran into the problem with some of my potted plants which seemed to dry out way to fast under full sun, especially the ones that have well established plants. It seems like the soil looses it's capacity to hold any water when the roots take over the pot so one of my solutions to lessen the problem is mixing in water absorption crystals to the soil.

These crystals can carry 400 times their own weight in water, and they are supposed to last for multiple seasons, and they are supposed to be soaked in water before they are put into the pots to work best.

Here's the bags that they come in. I puchased 5lbs of this stuff so it should have the capacity to hold 2000lbs of water which should last me a while.

Monday, April 2, 2012

Receiving my new Bartzella double yellow intersectional itoh peony

As you can tell by my other blogs, I really like peonies and decided to get one of the most common types of itoh peonies which is a hybrid between a tree peony and a herbaceous peony. Some of them are supposed to die back all the way to the ground while others will develop hard stems like this one as they can have characteristics of both types. The one constant is that the foliage looks more similar to that of a tree peony.

Here it is all leafed out since it came from Tennessee. 

Update on the garlic

I have planted around 2000 garlic gloves last winter and not surprisingly, most of them are coming up now. I have around a dozen species, all in separate beds of both hard neck and soft neck species. I don't care much about the names since the foliage on them is very hard to distinguish, but I'll know they are different when I harvest them. One of the things I am noticing is that the ones planted earlier in october are just a little bit further along than the ones planted as late as December, but they seem to be catching up so planting times don't seem to be that big of a deal.

Here's my original species of softneck garlic which produces average sized cloves with a pretty decent flavor, but doesn't have a very long shelf life.

Friday, March 23, 2012

Update on the tree peonies

After 2 weeks of very warm weather with highs usually in the lower 70s and lows around 50, all the peonies have really taken off like crazy. It is only 16 days after my initial blog on peonies and some of them have gone from barely poking out to being well leafed out. Here's the link to the peony blog from 16 days ago to show the huge difference. http://stevesbamboogarden.blogspot.com/2012/03/tree-peonies-starting-to-wake-up.html

Starting with the tree peony seedlings, most of them are almost fully grown now. They might need protection if we get a late freeze.

Asian pear seedling at different stages of development

Just doing a quick blog on some asian pear (pyrus pyrofolia seedlings).

New seedlings

Thursday, March 15, 2012

Signs of spring part 2012, still in winter

With day time highs in the 70s and lows lingering around 50 in the last few days and for at least another week, it is basically May weather up here. I just hope it stays warm so all these plants that are sprouting don't get killed. I can expect a lot of these plants to bloom before April as it almost feels like summer by now.

Musa basjoo banana: Over 2 feet of the psuedostem survived on these guys and all of them seem to be doing great. Let's hope we don't get a late freeze, but spring emerging leaves on basjoo are semi-hardy.

Wednesday, March 7, 2012

Tree peonies starting to wake up

Ever since the start of February I have started to see tree peony seedlings pop up all over the place, however some of them got frost bitten since it is too early for them to start coming up. In order to survive, they simply need to successfully put out a leaf and take in energy over the summer so they can grow a lot stronger the next year.

Here are some of the TP seedlings from 23 February 2012. These are some of the ones coming out too early for their own good since their initial leaf is prone to freeze damage.